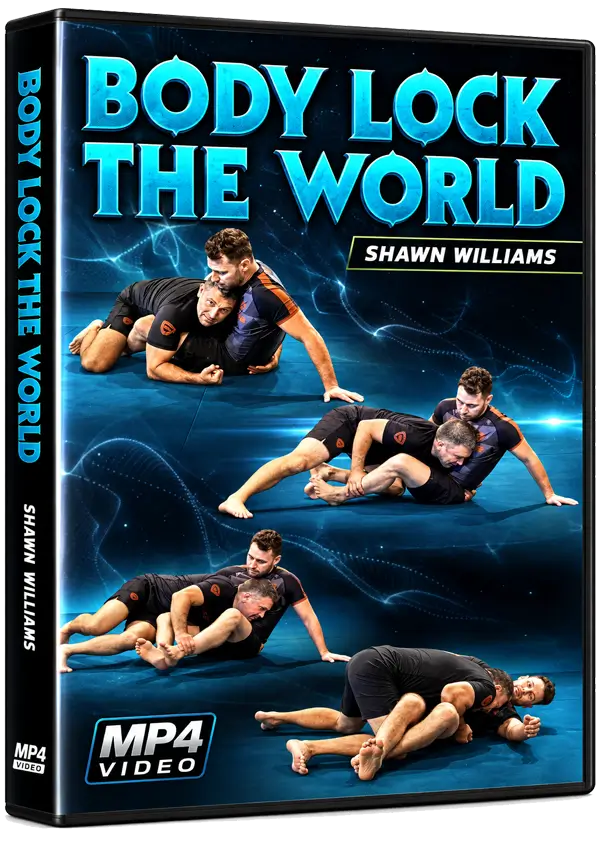
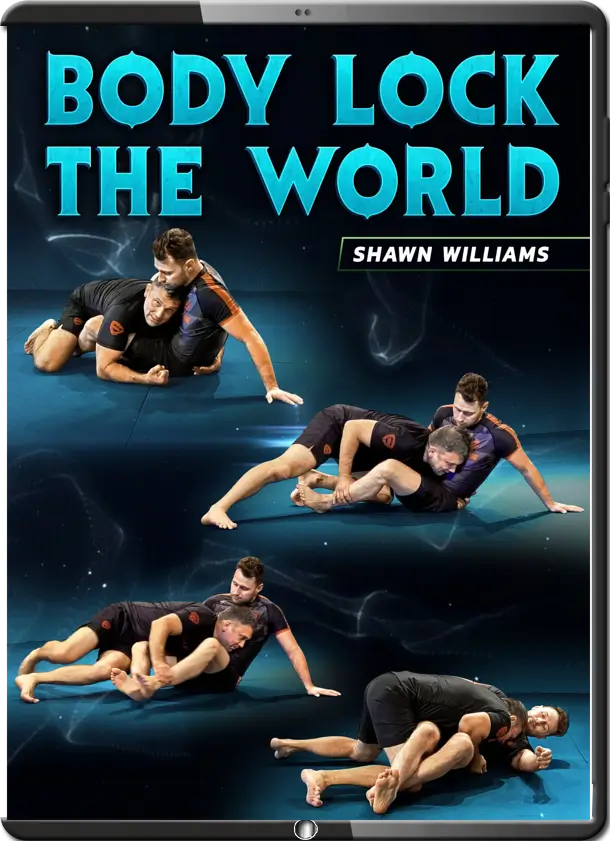
A Black Belt under the legendary Renzo Gracie, Shawn Williams is one of the great BJJ instructors of a generation
Master this no gi passing system with the body lock as the centerpiece to develop a truly dynamic top game, and add dozens of high efficiency techniques to your toolbox
Learn proper smash passing fundamentals, body lock gold, leg pummeling secrets, and more from the man that’s been a balck belt for nearly two decades and came up alongside some of BJJ’s most acclaimed icons, like John Danaher and Ricardo Almeida
Utilize perfect mechanics, intelligent strategies, and world level instruction that will revolutionize your entire no gi passing game
Course Content
Volume 1
Welcome
0:00 – 4:08
How to Use This Tutorial
4:08 – 10:25
Essentials – Essentials Intro
10:25 – 11:17
Butterfly Positioning Basics
11:17 – 14:55
Importance of Sagging
14:55 – 20:44
Keeping Opponent’s Knees in Ideal Position
20:44 – 23:15
Pummel with Wrist Deep
23:15 – 24:40
Using the Shrug to Prevent Guillotines
24:40 +
Volume 2
Near Side Underhook – NSU Intro
0:00 – 24:40
NSU Essentials
24:40 – 6:09
Nearside Underhook 1/2 Guard Pass
6:09 – 17:20
Nearside Underhook vs Elbow Post
17:20 – 22:56
Legwork and NSU vs 1/2 Guard
22:56 – 32:35
Nearside Underhook vs 1/2 Butterfly
32:35 – 38:30
Jumping Pass
38:30 – 44:26
Jumping Pass to 1/2 Guard
44:26 +
Volume 3
Smashing – Smashing Intro
0:00 – 0:40
Smash Pass
0:40 – 11:25
Dealing With Stiff Arms
11:25 – 20:09
Climbing the Body and Breaking Down an Elbow Post
20:09 – 25:22
Smash Pass to NSU with Sprawl
25:22 – 31:55
Smash Pass to NSU and move up
31:55 – 41:14
Smash Pass to NSU with Grapevine
41:14 – 45:05
Smash to Full 1/2 Guard
45:05 – 47:26
Smash Pass with Scorpion Grapevine
47:26 +
Volume 4
Shin Pinning – Shin Pin Intro
0:00 – 0:47
Shin Pin (backstep method)
0:47 – 13:12
Shin Pin (Shuffle Method)
13:12 – 18:08
Shin Pin vs Posted Arm
18:08 – 22:01
Shin Pin vs Sumi Gaeshi
22:01 – 27:55
Leg Trap Shin Pin
27:55 +
Volume 5
BodyLock Passing – BodyLock Intro
0:00 – 1:13
Spinning vs Flat Bodylock Discussion
1:13 – 12:33
Body Lock – No Arms
12:33 – 26:25
Arm in Body Lock off of Pummel
26:25 – 34:33
Body Lock – No Arms vs Sumi Gaeshi
34:33 – 40:03
Flat Bodylock (Sprawl Method)
40:03 – 47:22
Post and Spin Pass
47:22 – 51:28
How to Use Bodylock To Flatten Opponent
51:28 +
Volume 6
Leg Pummeling and Beyond – Leg Pummel Intro
0:00 – 1:06
Pummel vs Ashi – 1/2 Butterfly with Leg Pummel Ending
1:06 – 7:52
Pummel vs Ashi – Smash
7:52 – 18:26
1/2 Butterfly pt 2 Backstep and Then Kneecut (Kneecut)
18:26 – 23:53
Back Step Hook to Mount
23:53 – 26:51
1/2 Butterfly pt 3 (getting down and underhooking)
26:51 – 32:31
Rolling Back Take
32:31 – 40:47
Forearm Block vs High Knee (extended hip)
40:47 +
Volume 7
VS Underhook Attacks – Double Under Counter Intro
0:00 – 0:59
Spinning off of Double Unders
0:59 – 6:13
Hip Switch vs Double Unders
6:13 – 14:31
Hip Switch with Leg Pummel
14:31 – 17:47
Countering the Shoulder Crunch
17:47 – 24:16
Seated vs Standing – Standing vs Seated Intro
24:16 – 25:22
Step into Middle – Butterfly off Shin to Shin
25:22 – 30:44
General Position of Square Stance – arm in bodylock finish
30:44 – 37:30
Driving In / Tackle Entry
37:30 – 41:54
General Method – Threading the Needle With Ankel Pick Up
41:54 – 48:16
Sweet Spot Spin to Butterfly vs High Leg Retention
48:16 +
Volume 8
1/2 and 3/4 Guard Passing – 1/2 and 3/4 Guard Passing Intro
0:00 – 0:59
Resetting vs An Early Scoop Attempt – 1/2 Butterfly



 SHAWN WILLIAMS – BODY LOCK THE WORLD