| Cuff Ankle Picks |
5:35 – 6:53 |
| Inside Ankle Pick |
6:53 – 8:55 |
| Shoulder Grip Cross Ankle Pick |
8:55 – 10:44 |
| Combining Outside Pick & Inside Pick |
10:44 – 12:24 |
| Kibisu Gaeshi Floor Post |
12:24 – 14:32 |
| Why I strongly Favor The Ankle Pick For Jiu Jitsu – Overlap With Ground Grappling |
14:32 – 22:08 |
| Low Risk/High Reward |
22:08 – 26:49 |
| Ankle Pick Is Very Well Suited To Common Jiu-Jitsu Stance |
26:49 – 32:14 |
| Ankle Pick Combines Extremely Well With Guard Pulls |
32:14 – 36:56 |
| Ankle Pick Utilizes The Long End Of The Lever |
36:56 – 40:03 |
| What Do We Need To Develop A High Level Ankle Pick – There Are 2 Main Kinds Of Ankle Picks |
40:03 – 43:50 |
| Understanding Shot Hand/Shot Leg Correlation |
43:50 – 47:46 |
| Ability To Get Our Opponent To Take A Step |
47:46 – 53:14 |
| Ability To Get Opponent’s Head Over The Ankle You Are Attacking |
53:14 – 56:06 |
| Ability To Keep Opponent’s Head Same Height As Yours |
56:06 – 1:02:38 |
| Ability To Go From One Ankle To Another |
1:02:38 – 1:05:49 |
| Ability To Use Shot Hand In A Linear Fashion |
1:05:49 – 1:09:07 |
| Ability To Create A Drive Leg And Finish With A Knee Slide |
1:09:07 – 1:11:27 |
| Ankle Picking From Kenka-Yotsu |
1:11:27 – 1:19:01 |
| The Relationship Between Snap-Downs And Ankle Picks |
1:19:01 – 1:28:08 |
| Double Ankle Pick |
1:28:08 – 1:34:47 |
| High Finishes To An Ankle Pick |
1:34:47 – 1:38:36 |
| Troubleshooting The Ankle Pick – Dealing With A Stiff Arm |
1:38:36 – 1:46:21 |
| Opponent Controls Our Shot Hand |
1:46:21 – 1:58:09 |
| Opponent Plays Upright Stance |
1:58:09 – 2:05:22 |
| The Special Relationship Between Ankle Picking And Knee Picking |
2:05:22 – 2:12:36 |
| Double Leg Takedown (Morote Gari) from Ai-Yotsu – Open Position |
2:12:36 – 2:19:22 |
| Straight Cuff Flank |
2:19:22 – 2:23:01 |
| Cross Cuff Grip |
2:23:01 – 2:24:28 |
| Cross Grip |
2:24:28 – 2:26:10 |
| Armdrag |
2:26:10 – 2:27:31 |
| Using a Grip Fight to Your Advantage |
2:27:31 – 2:29:01 |
| Sleeve Lapel |
2:29:01 – 2:31:16 |
| Double Leg Takedown (Morote Gari) from Kenka-Yotsu – Cross Grip |
2:31:16 – 2:34:51 |
| Grip Break Method |
2:34:51 – 2:36:46 |
| Lapel Grip |
2:36:46 – 2:39:09 |
| Single Leg Takedown – The difference between single legs Gi & No-Gi |
2:39:09 – 2:41:46 |
| Ai-Yotsu – Lapel Single Leg |
2:41:46 – 2:47:20 |
| Dump |
2:47:20 – 2:50:45 |
| Sleeve Cuff Single |
2:50:45 – 2:52:44 |
| Double Sleeves |
2:52:44 – 2:54:43 |
| Kenka-Yotsu – One Handed Gripping |
2:54:43 – 2:57:16 |
| Knee Pick Kuchiki-Daoshi |
2:57:16 – 2:59:46 |
| Kenka-Yotsu Lapel Grip |
2:59:46 – 3:07:17 |
| Grip Fighting |
3:07:17 – 3:09:50 |
| Kuchiki-Daoshi combined with Tani-O’toshi |
3:09:50 + |

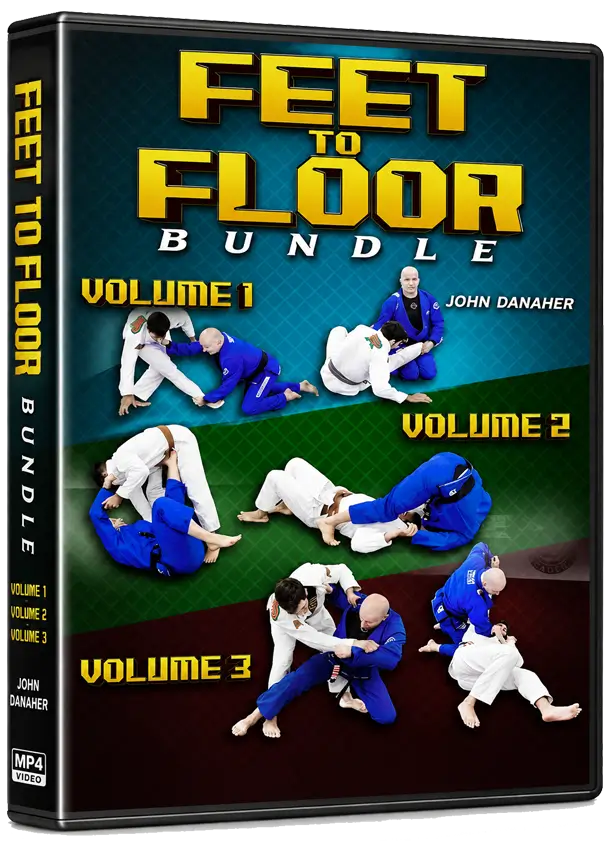


 FEET TO FLOOR BUNDLE BY DANAHER