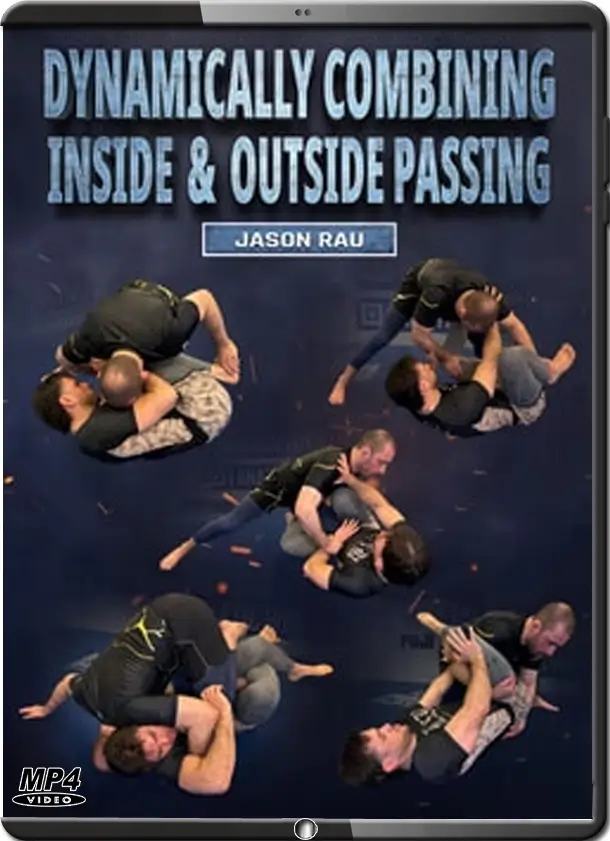
JASON RAU – DYNAMICALLY COMBINING INSIDE & OUTSIDE PASSING
SKU: 05412$13.01
You are from Estados Unidos, price will be in Dólar americano ($).
United States dollar ($) - USD
Pague em até 12x sem cartão de crédito.
Saiba mais
- Satisfação Garantida
- Reembolsos Sem Complicações
- Pagamentos Seguros
Descrição
|
| Intro | 0:00 – 0:48 |
| Main Strategy | 0:48 – 2:25 |
| Concepts – Knee Elbow Connection | 2:25 – 4:08 |
| Concepts – Knee To Chest Vs Extended Legs | 4:08 – 5:39 |
| Concepts – Multidirectional | 5:39 – 7:56 |
| Main Positions – Hip And Knee Post | 7:56 – 9:57 |
| Main Positions – Split Squat | 9:57 – (11:32) |
Volume 2
| Hip And Knee Post – Gripping / Staying Outside The Feet | 0:00 – 3:45 |
| Concave Vs Convex | 3:45 – 6:49 |
| North South | 6:49 – 9:28 |
| Over Under | 9:28 – 13:55 |
| Over Under To Stack Pass | 13:55 – 16:49 |
| Split Squat | 16:49 – 19:29 |
| Nearside Underhook To Half Guard | 19:29 – 23:21 |
| Nearside Underhook To Tripod Pass | 23:21 – 26:48 |
| Cross Scoop To Hip Switch | 26:48 – 29:19 |
| Cross Scoop To Shin Pin | 29:19 – 31:08 |
| Cross Scoop Shin Pin Backstep To Stack | 31:08 – (34:34) |
Volume 3
| Split Squat – Posture And Gripping | 0:00 – 3:52 |
| Forcing Half Guard | 3:52 – 7:07 |
| Knee Cut Vs RDLR | 7:07 – 9:58 |
| Near Side Underhook – Half Guard/Tripod Pass | 9:58 – 12:21 |
| Nearside Underhook – Over Under | 12:21 – 14:24 |
| Nearside Underhook Vs Wrestle Up | 14:24 – 16:55 |
| Near Side Throw By | 16:55 – 18:42 |
| Far Side Throw By | 18:42 – 20:48 |
| Butterfly Hook Throw By | 20:48 – 22:48 |
| Hq To Hip And Knee Post Both Side | 22:48 – (24:44) |
Volume 4
| Forcing Opponent Supine – Posture/Head Positioning | 0:00 – 2:24 |
| Circling To Hip And Knee Post | 2:24 – 4:41 |
| Cross Ankle To Hip And Knee Post | 4:41 – 6:23 |
| Flying Knee Cut | 6:23 – (8:37) |


 JASON RAU