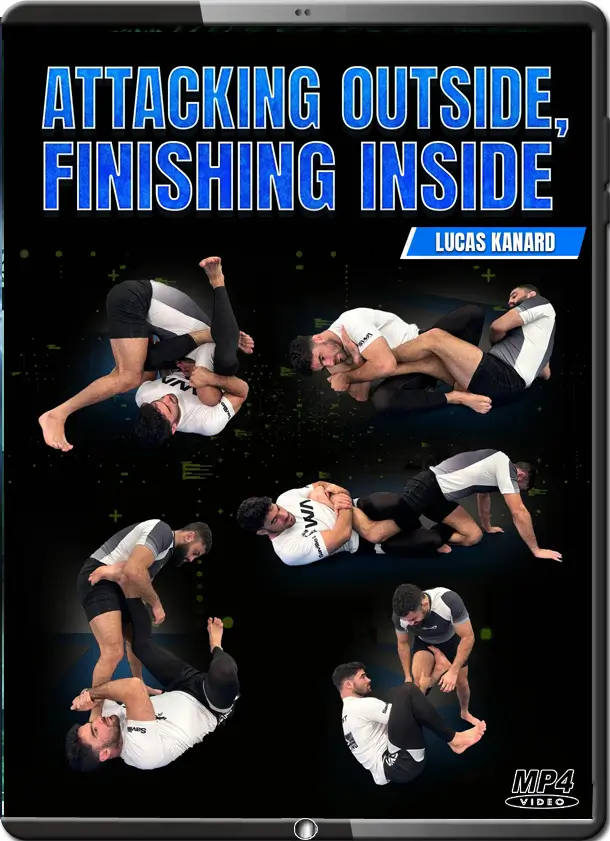
LUCAS KANARD – ATTACKING OUTISE FINISHING INSIDE
SKU: 5358$17.76
You are from Estados Unidos, price will be in Dólar americano ($).
United States dollar ($) - USD
Pague em até 12x sem cartão de crédito.
Saiba mais
Compre com o Mercado Crédito sem cartão e pague por mês
1
2
3
Crédito sujeito a aprovação.
Dúvidas? Confira nossa página de Ajuda.
- Satisfação Garantida
- Reembolsos Sem Complicações
- Pagamentos Seguros
Descrição
|
 LUCAS KANARD – ATTACKING OUTISE FINISHING INSIDE
| Intro | 0:00 – 3:16 |
| Finishing Positions – Reverse Triangle | 3:16 – 5:39 |
| Mikey Lock | 5:39 – 7:22 |
| Double Trouble Mikey Lock | 7:22 – 9:29 |
| Double 50 | 9:29 – 11:01 |
| Inside Ashi | 11:01 – 15:08 |
| Kneebar | 15:08 – 17:31 |
| Aoki Lock | 17:31 – (20:46) |
Volume 2
| Important Entries to Understand – Low K Guard and Making K Guard Effective | 0:00 – 3:53 |
| Closed Guard to K Guard | 3:53 – 6:05 |
| Closed Guard to Reverse K Guard | 6:05 – 7:57 |
| Body X to Enter the Same Positions | 7:57 – 9:54 |
| Body X Extended | 9:54 – 11:13 |
| Common Body X Issues | 11:13 – 14:49 |
| DLR Off Balance | 14:49 – 17:41 |
| DLR to X Guard | 17:41 – 19:41 |
| Common Leg Locks from X Guard | 19:41 – 24:46 |
| DLR to Knee Bar from X Guard | 24:46 – 27:20 |
| DLR to Saddle on Far Leg | 27:20 – 29:55 |
| DLR to Saddle on Far Leg if Unable to Invert | 29:55 – 31:08 |
| DLR to Saddle on Near Leg | 31:08 – 32:20 |
| HQ to Saddle on Both Legs | 32:20 – 34:32 |
| Bear Trap Spinning to Other Leg | 34:32 – 37:35 |
| Losing the Knee Line in 50/50 | 37:35 – 40:25 |
| Dealing with a Smashed Saddle | 40:25 – (43:49) |
Volume 3
| Understanding Common Open Guard Attacks – Connecting Keymaster and K Guard | 0:00 – 4:31 |
| Connecting Keymaster and DLR | 4:31 – 7:36 |
| Additional Tip When Connecting Keymaster and DLR | 7:36 – 8:27 |
| RDLR | 8:27 – 11:08 |
| False Reap | 11:08 – (13:59) |
Volume 4
| Attacking from Seated Guard – Making Connection with Two on One | 0:00 – 3:21 |
| Two on One in More Detail | 3:21 – 7:19 |
| Scoop vs Over Wrap and Why I Prefer to Scoop | 7:19 – 9:36 |
| Double Triceps Pull | 9:36 – 11:03 |
| Addressing the Knee Cut on Double Triceps Pull | 11:03 – 12:49 |
| Mateusz Armbar Pull | 12:49 – (14:13) |
Volume 5
| Open Guard with no Connection to Entanglement – Defending and Attacking Leg | 0:00 – 3:29 |
| Framing on Opponent | 3:29 – 6:31 |
| Using Self Frames to Avoid Pins | 6:31 – 8:10 |
| Foot Under Opposite Armpit a K Guard Entry and Potential Issues | 8:10 – 10:04 |
| J Point to Key Master | 10:04 – 12:48 |
| J Point to Reverse Triangle | 12:48 – 14:38 |
| Knee Slide to Key Master | 14:38 – 16:14 |
| Recovering from the Over Under and Single Under Dilemma | 16:14 – 20:56 |
| Recovering from the Over Under and Single Under Dilemma – Part 2 | 20:56 – 22:17 |
| Leg Drag | 22:17 – 24:11 |
| Stack Pass Defense and Reattack | 24:11 – 27:32 |
| North South Defense and Reattack | 27:32 – 32:26 |
| North South to Ankle Triangle | 32:26 – 33:30 |
| Importance of the North South Defense | 33:30 – (35:09) |
Volume 6
| Fun Extras – How to Not Get Outside Heel Hooked | 0:00 – 4:58 |
| How to Not Get Inside Heel Hooked | 4:58 – 7:31 |
| How to Not Get Leg Locked – Backstep Into Saddle | 7:31 – 8:53 |
| Crucifix Entry | 8:53 – 10:49 |
| Saddle from Pato Position | 10:49 – 13:52 |
| Outro | 13:52 – (14:56) |