
PLACIDO SANTOS – DRILL FOR SKILL CHEST TO CHEST PIN ESCAPES
SKU: 7233$17.76
You are from Estados Unidos, price will be in Dólar americano ($).
United States dollar ($) - USD
Pague em até 12x sem cartão de crédito.
Saiba mais
Compre com o Mercado Crédito sem cartão e pague por mês
1
2
3
Crédito sujeito a aprovação.
Dúvidas? Confira nossa página de Ajuda.
- Satisfação Garantida
- Reembolsos Sem Complicações
- Pagamentos Seguros
Descrição
|
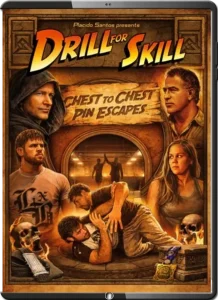 PLACIDO SANTOS – DRILL FOR SKILL CHEST TO CHEST PIN ESCAPES